
Good Morning All!
Hope everything has been well since last we spoke....
Things on my end have been...unpredictable.
There is a change coming in the wind but that I will leave for another time.
The gift date has past, so as promised, I can show you what I've been concocting.
And speaking of - YAY for me! I stayed focused on the projects and got them completed!!
Project number one:
I used 5 x 7 wood blanks and 'Folk Art Chalk' paint. The colors used were Imperial (red), Cascade (blue), Rich Black, Sheepskin (off white) and Antiquing Wax. Got all of these materials at JoAnn Fabrics. Dangerous place for me to go! LOL!
I began with the base coat - solid colors
I then rotated the colors, added another coat (2 coats) and sanded to let
the base coat show through. I then rotated the colors again and added
the lettering.
added some swirls and the Sheepskin
sanded the lettering and added some metallic paint
waxed and polished
added eyelets and twine
Finished Project
Project number two:
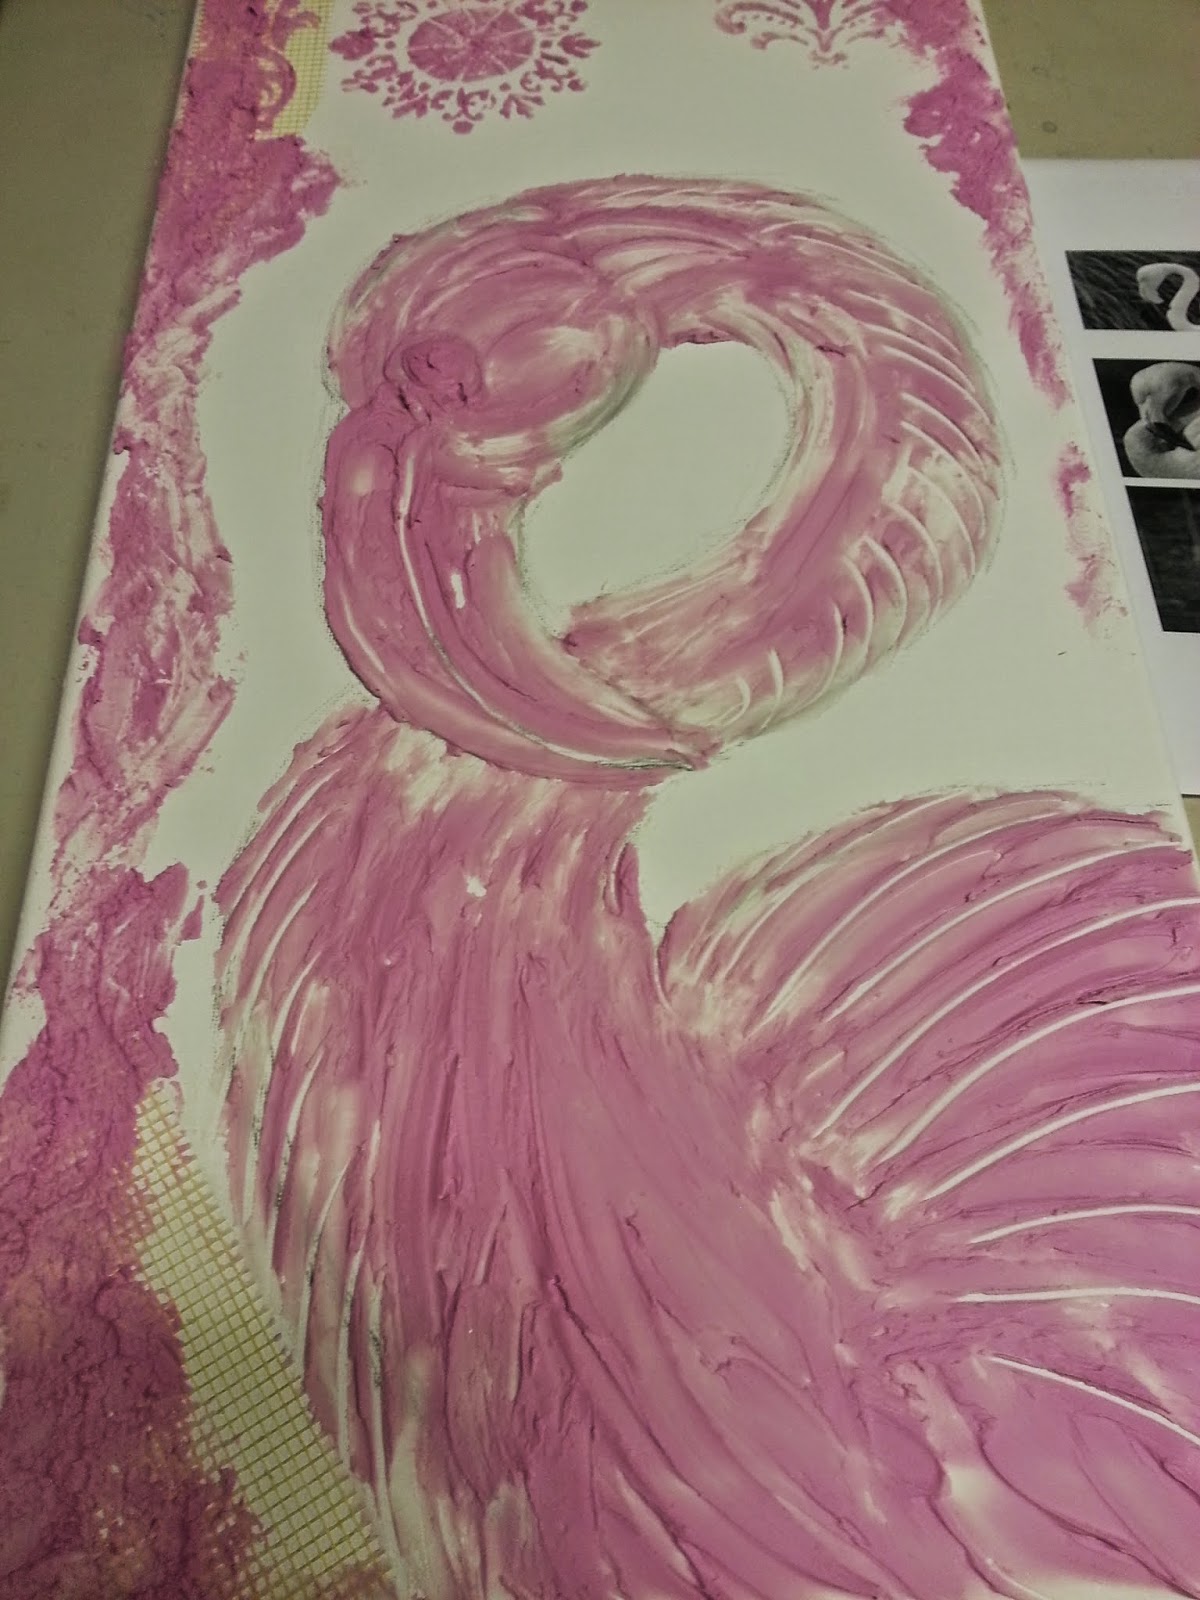
I started this project by using the chalk paint (from above) and prepped the canvas. Then I saw a technique that really caught my attention and I started again.
this was the start that I didn't end up using
started with a sketch
I then used Dap Drywall Spackle to
add texture to the bird and various
textures around the edges
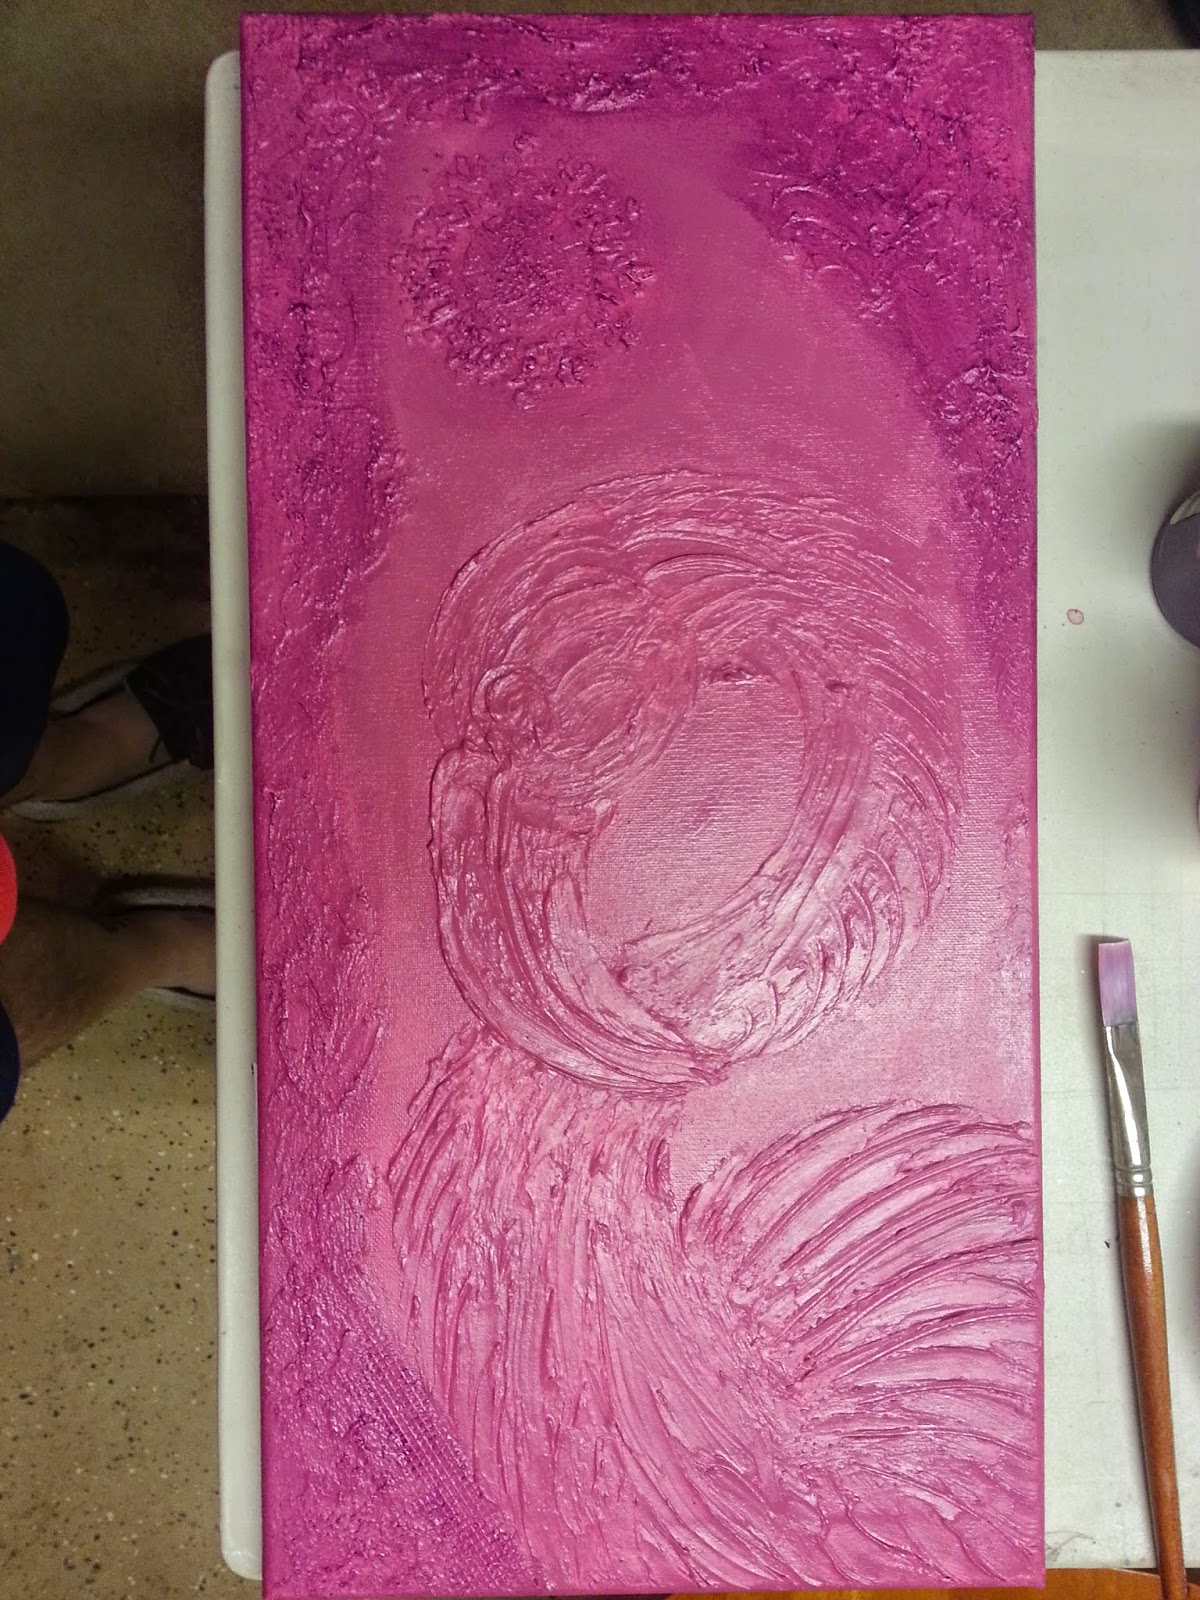
starts pink - turns white when dry
almost dry
2 coats of gesso, a base coat of pink and some 'Deep Violet' that was a thin wash
and then wiped with a cloth
I then used 'Halo Blue-Gold' around the outside textures to bring them out.
This color has a gold shimmer that catches the light (hard to see in photos)
then it was onto the bird - white wash with cloth wipe. I added color to the beak
and darkened the back (tail) of the bird
I then began adding red to the edges
of the feathers...
and for some reason didn't take photos,
but I used white and painted into the red
to transition into a pink.
I then dry-brushed white over the feathers
to create highlights and make the textures
pop out
I used yellow embossing powder for
the eye -
this is the last picture I took,
after this point I tweaked the colors,
adding more of the Halo Blue-Gold
and white as needed.
I can't believe I forgot a Finished Photo
:(
Both items were joyfully received and hung immediately.
Ok, short break...more coffee and clothes to the dryer. Be Right Back!
I'm back - did you miss me? :)
I'm sure that most of you noticed that I was absent for a time - just a lack of creative juices. During that period I decided to make a Stone Box. I made a trip to The Dragon and Phoenix shop. Where I spent a good hour 'feeling' for stones. I don't ever go looking for stones with a preset in mind. I just pick them out and let them guide me. Well, after I got home, I looked up the stones and low and behold...all four of the stones I chose were related to focus and clarity. Imagine that!?! So, I set to making the box...
I began with a blank box. Coat of blue on the
outside and off white on the inside
Then a second coat of black on the outside and
sanded to allow the blue to come through
(and yes, this is the chalk paint from the
previous project but this was done before
that one)
I cut and added scrap book paper to the top inside
panel and velvet paper to the bottom.
the haze on the top panel is from the Mod Podge
coat not being dry yet
designs to the outside of the box
there is a feather and crystal glitter.
the Finished Box with stones and
feathers. The feathers were added
to give my focus flight.
Corny right? Wrong!
The box has served it's purpose and
things have progressively come back
into focus and I am creating again!
Well, hopefully I haven't bored you to sleep. But I think that's all for this post. I am off to work on the Angel painting. I have finished the preliminary layout and now it's time to get it to the canvas. I intend to use oils for this project. I haven't used oils in years so we will have to wait and see if my hands can remember how to control them. Wish me luck!
til next time...
Be Good, Be Safe, Be Happy!
TTFN
I'm glad to see that you're back blogging again:)
ReplyDeleteThanks Mary Ann! I'm glad to be back!
Delete